How to Make Salt Dough Ornaments
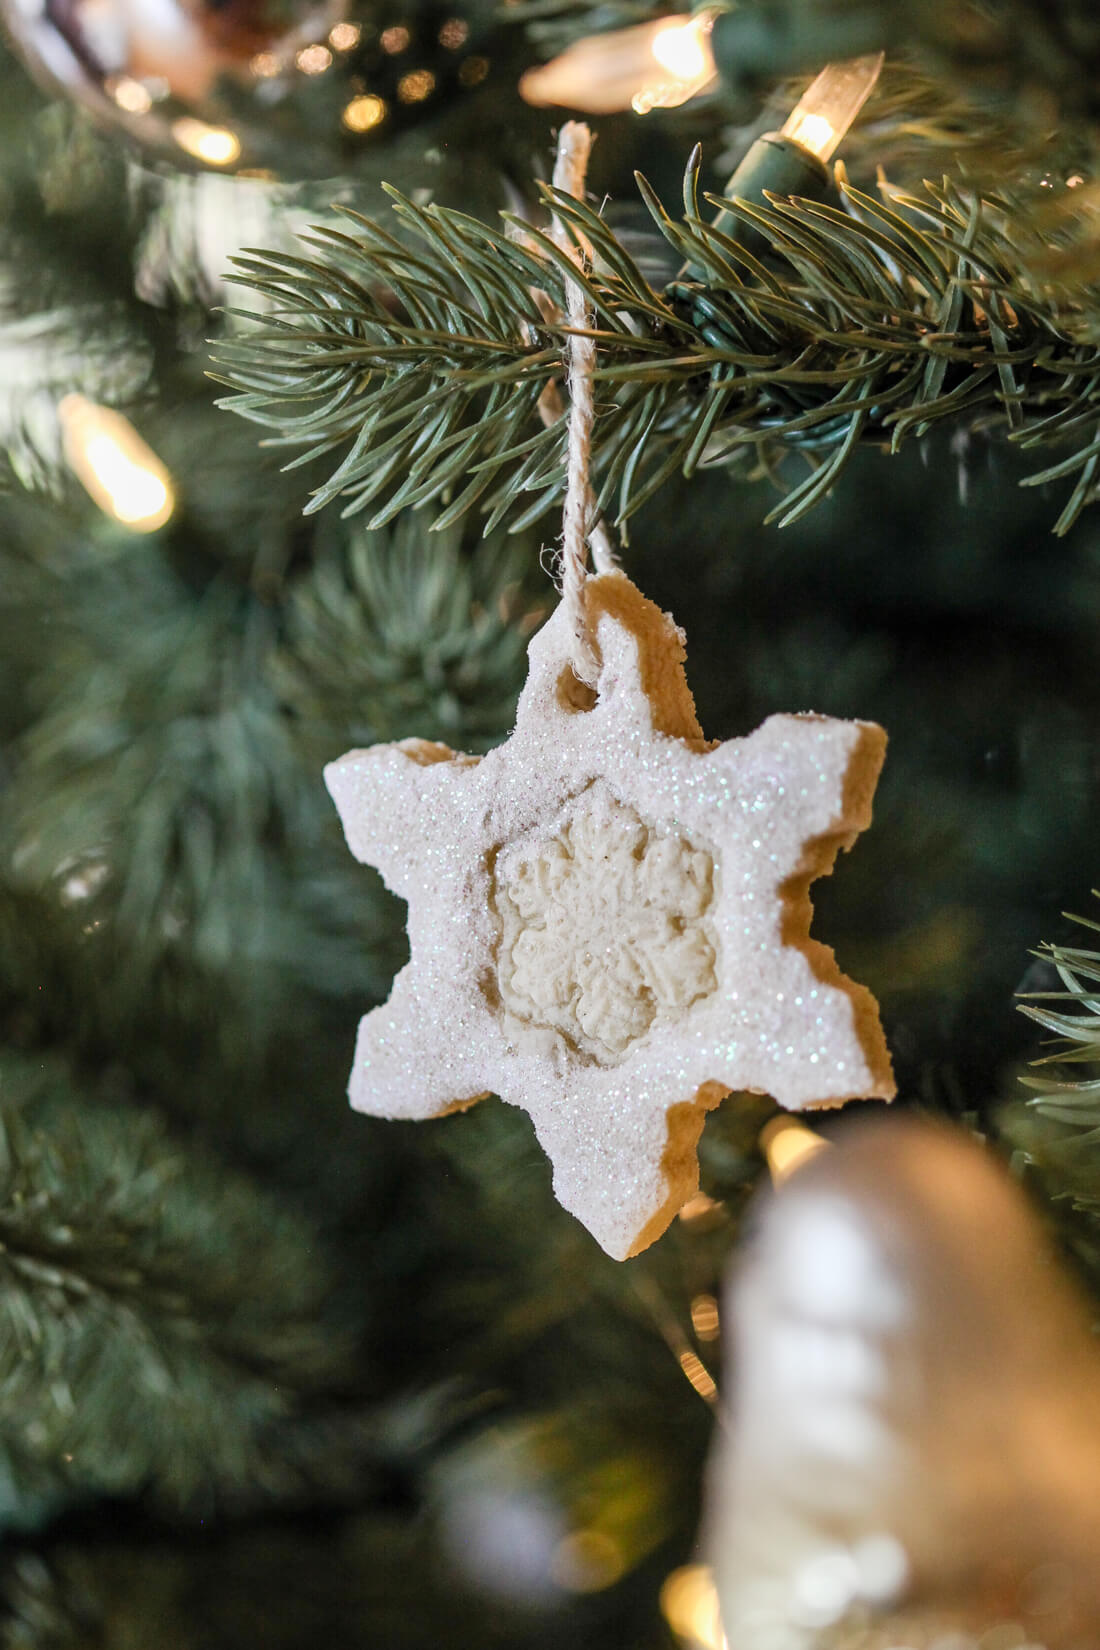
Celebrate the holidays by making salt dough ornaments with the best salt dough recipe. It’s a fun holiday activity and makes a beautiful homemade Christmas ornament gift.
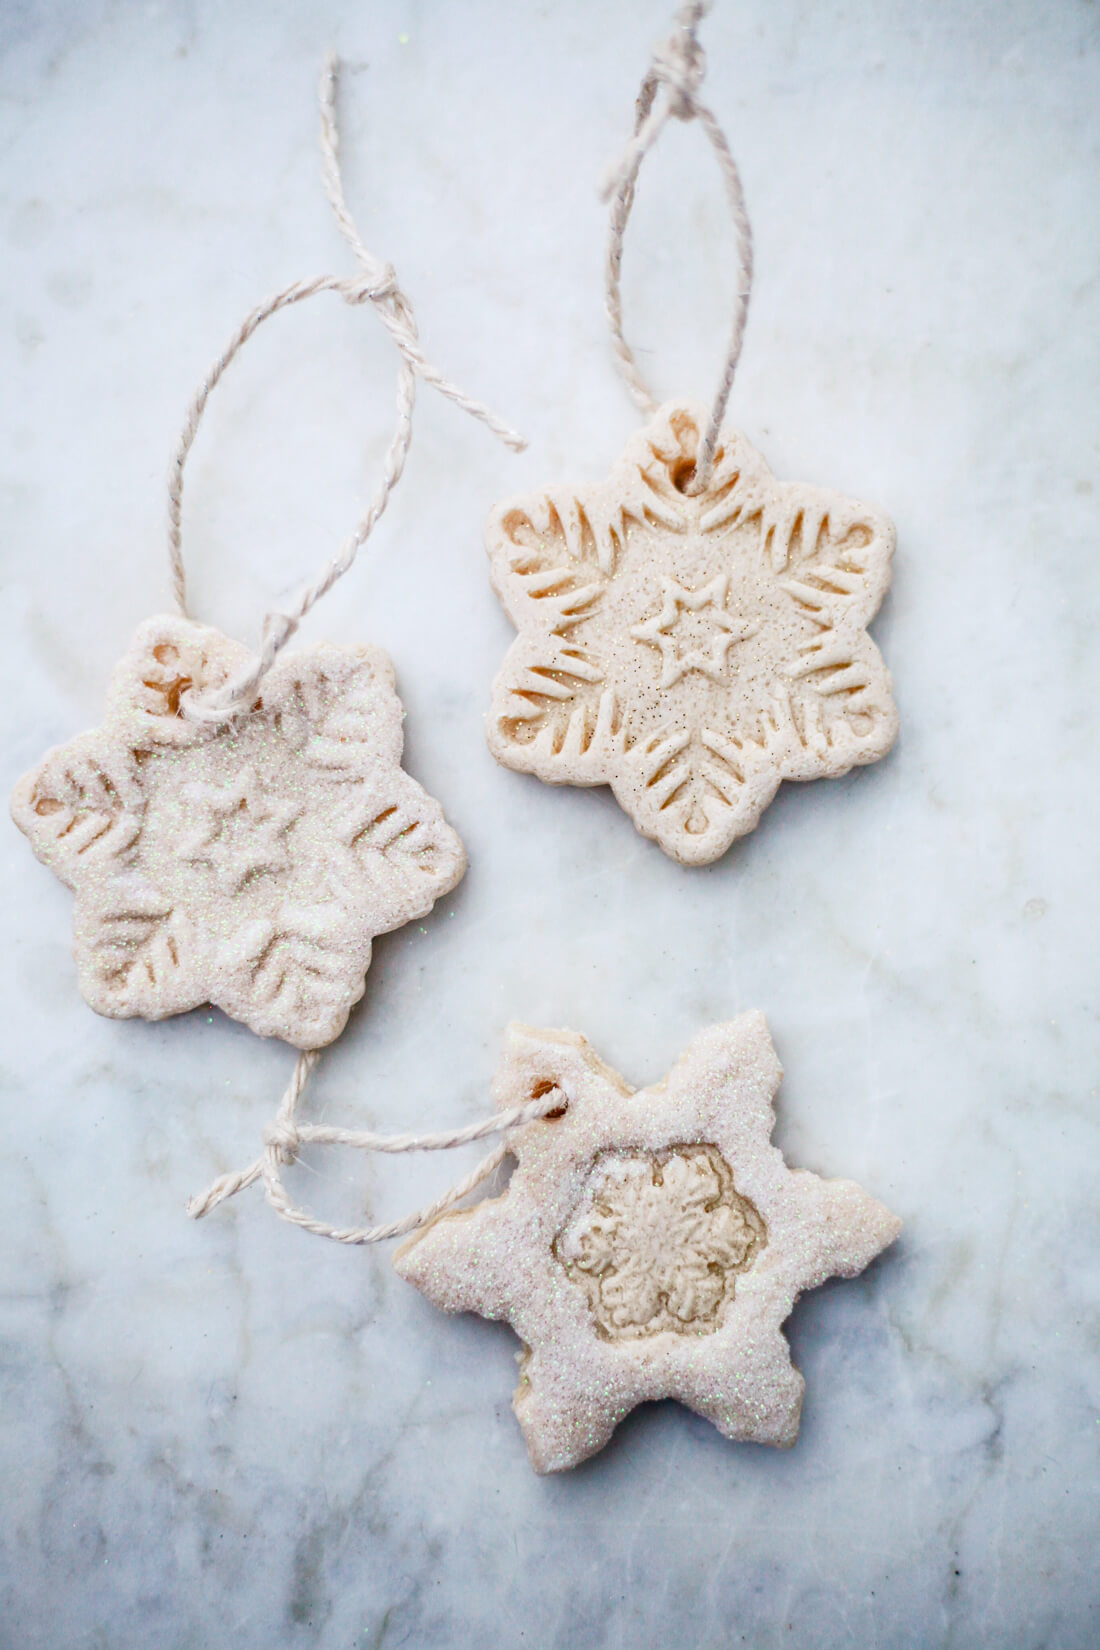
Making salt dough ornaments is a fun Christmas tradition and makes a lovely homemade gift – just like our Dried Orange Slices! This year, try this easy salt dough recipe to make your ornaments. Salt dough is easy to work with and can be decorated with paint, glitter, and other decorations.
Making salt dough ornaments is a lot like making a very simple sugar cookie recipe, but the dough bakes a lot longer and is not edible. We love making these ornaments during the holidays when there are more than enough sweets but we still feel like baking. It’s also a fantastic sensory activity for young children as the dough feels a lot like playdough.
WHAT IS SALT DOUGH AND HOW IS IT USED?
Salt dough is a type of clay that is made from salt, flour, and water. It can be formed into any shape and decorated in many ways.
This simple dough has been used for centuries to make ornaments and decorations. The earliest salt dough ornaments were made by the ancient Egyptians. The Egyptians used salt dough to make figurines and other decorations.
The Romans also used salt dough to make ornaments. They used the salt dough to make figurines, jewelry, and other decorations. The salt dough was also used to make coins.
Salt dough is a popular craft material today. Many people use salt dough to make ornaments, jewelry, 3-D maps, baby handprint keepsakes, and other decorations.
THE BEST SALT DOUGH RECIPE
Making salt dough is easy enough for young kids to mix together. All you need is salt, flour, and water. This is a tried and true recipe that families have been making for generations. Here’s what you’ll need:
- Flour. An inexpensive all-purpose flour is fine and it’s important not to use flour without any leavening agents.
- Salt. We use fine sea salt.
- Water
- Rolling pin
- Cookie sheet
- Cookie cutters
- Paint, glitter, or other decorating materials (optional)
- Twine or ribbon for hangers
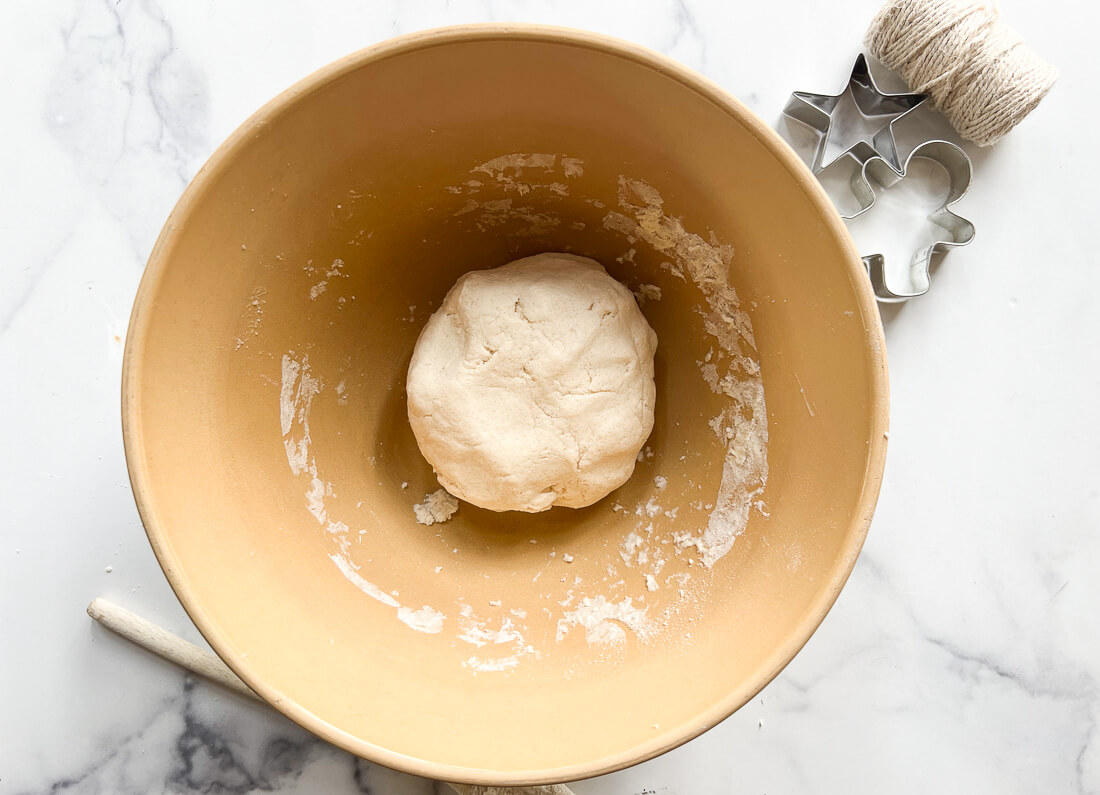
To make salt dough, simply stir the flour and salt together in a bowl and then add enough water to form a cookie dough-like consistency.
HOW TO MAKE SALT DOUGH ORNAMENTS
- To make salt dough ornaments, first, roll the dough out on a surface dusted with flour.
- Cut out the shapes you want with cookie cutters. If you don’t have cookie cutters you can use a knife or make circles using the top of a canning jar. Our cutters and stamps are from Michaels.
- Don’t forget to poke holes for hanging your ornaments before baking.
- Bake the ornaments at 250 degrees until hard and dry. You can also let these air dry.
- You can then decorate the ornaments with paint, glitter, and other decorations.
Variations & Tips
Santa Hand Salt Dough Ornaments
Salt dough handprints are a popular way to use this dough to create a sweet keepsake for parents or grandparents. To make a salt dough handprint, simply press your child’s hand (or a dog’s paw) into a round piece of dough.
To make a Santa handprint, press the hand into the dough. Then cut around the handprint with a paring knife. Once baked, use craft paint to turn the handprint into Santa, as shown above.
Cinnamon
Make cinnamon salt dough ornaments with a lovely natural gingerbread color by adding 2 tablespoons of ground cinnamon to the dry ingredients.
Colorful Salt Dough
If you’d like to color your dough before drying, try adding food coloring. Gel food coloring works best but liquid will work as well. To naturally color the dough, try spices such as turmeric.
Air-Dried Salt Dough Ornaments
Salt dough can air dry if necessary. This might be the only option if making these in a classroom. Ornaments will take approximately 2-7 days to air dry at room temperature.
Can Dogs Eat Salt Dough?
Salt dough ornaments seem a lot like cookies to dogs, and we’ve found that many dogs will steal them right off Christmas trees. These ornaments are not healthy for dogs or humans, however, and will usually make them sick. Too much salt is not safe for anyone.
How to Prevent Puffing
Some people find that their dough puffs up as it bakes. To ensure your ornaments remain flat after baking, be sure you do not use self-raising flour. Air drying your ornaments or baking at a lower temperature can also help. We have not experienced puffing with this recipe.
How to Store Finished Salt Dough Ornaments
These ornaments will last decades when stored properly. It’s important to keep them in a dry place. We like to wrap ours in tissue paper and then store them in large sealed plastic bins with the other Christmas ornaments.
Can You Make the Dough Ahead?
If you’re planning this activity and want to make the dough ahead of time, you can mix it up a day or two in advance. It is important it does not begin to dry out, however. Store the dough in an airtight plastic zipper bag until you’re ready to use. We recommend making the dough just before rolling and cutting, however, as it only takes a few minutes.
If you would like to make this a two-part activity, we recommend making the dough and cut-outs one day, and painting/decorating another day.
Salt Dough Ornaments
This classic salt dough recipe is perfect for making salt dough ornaments. Decorate the ornaments however you'd like and use them on your Christmas tree or give as homemade Christmas gifts. We have used snowflake cookie cutters and stamps from Michaels here.

Materials
- 1 cup fine salt
- 2 cups all-purpose flour
- 1/2 cup water (or more)
- Twine or ribbon
Tools
- Cookie Sheet
- Rolling Pin
- Cookie Cutters
Instructions
- Preheat the oven to 250°F. Line a cookie sheet with parchment paper to help prevent sticking.
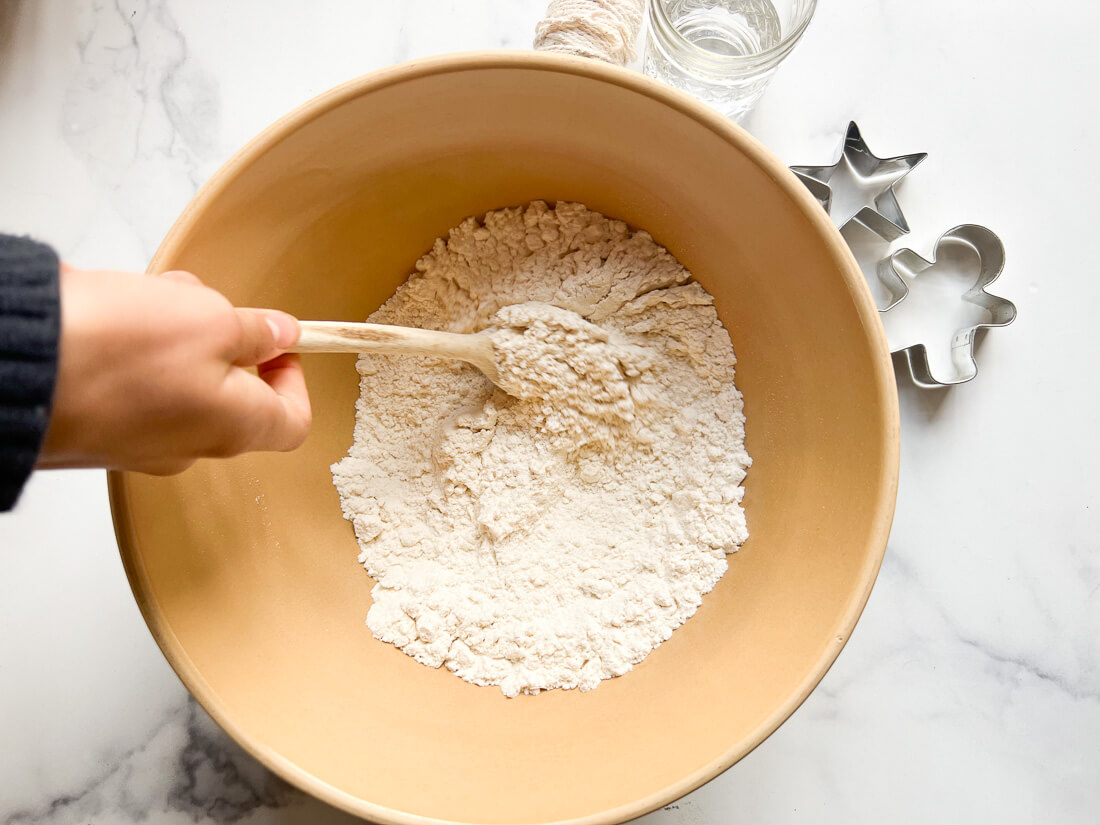
- In a medium to a large bowl, stir together the salt and flour.
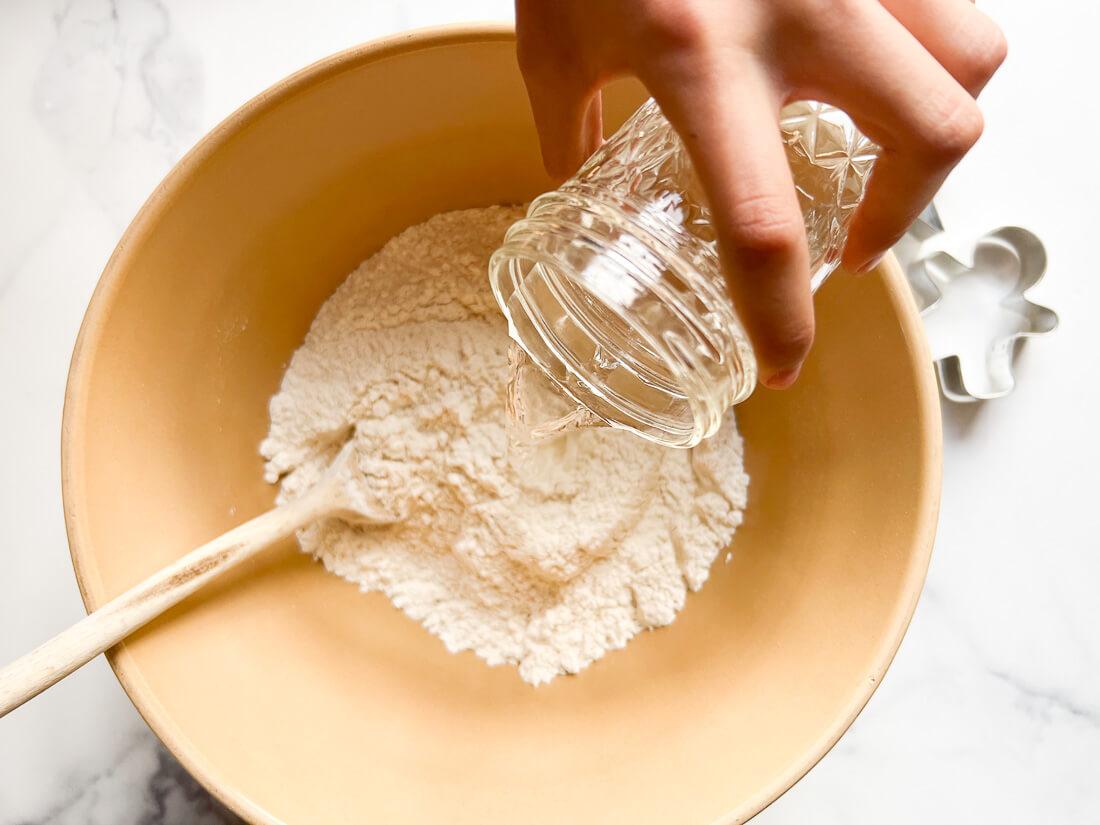
- Pour the water into the dry ingredients and stir to combine. Continue adding more water until your salt dough comes together.
- Knead until smooth.
- On a lightly floured surface, roll your salt dough ¼-inch thick, just like if you were making sugar cookies. Use cookie cutters to cut out salt dough ornament shapes.
- Place the cut-outs on the prepared cookie sheet. Use a straw or wooden dowel to punch holes at the tops of the ornaments for hanging.
- Bake for 1-2 hours, until firm. The backs of the ornaments can be slightly damp, as they will continue to air dry. If you'd prefer, you can completely air-dry these ornaments, but they will take between 1 and 7 days to harden.
- If desired, decorate your cooled salt dough ornaments with paint, mod podge, glitter, or other decorations.
- Loop pieces of twine or ribbon through the ornament holes and tie them at the top to create ornament hangers.
Notes
- Salt dough is not safe for humans or dogs to eat.
- To make cinnamon salt dough, add 2 tablespoons of ground cinnamon to the dough.
- Store finished ornaments in a dry location and they will last for decades.


