Daisy Girl Scout Party & Daisy Cupcakes
Recipe for simple daisy cupcake toppers made with white chocolate. Plus details of a darling daisy girl scout investiture ceremony.

A few weeks ago my big girl became an official Girl Scout! We are so lucky to have such a wonderful group of new friends through kindergarten. The girls took their daisy scout pledge at the home of one of the girls. If you know me, this place is so my style. Check out this adorable potting bench turned dessert & drink bar for the party!
Keep reading for the rest of the details and the recipe for daisy cupcakes!

Backyard chickens galore. On the left here we have an Ameracauna (the same breed that lays my beloved blue eggs) and (I think) a silver or lavender Cochin – love that sweetie’s furry feet.

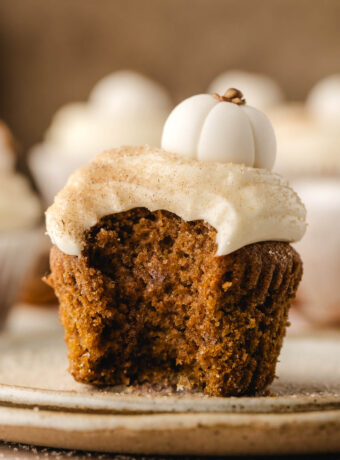
I brought daisy cupcakes to celebrate our new daisy girl scouts. They would be great for Mother’s Day or really any spring or summer occasion. Pin the image so you don’t forget!
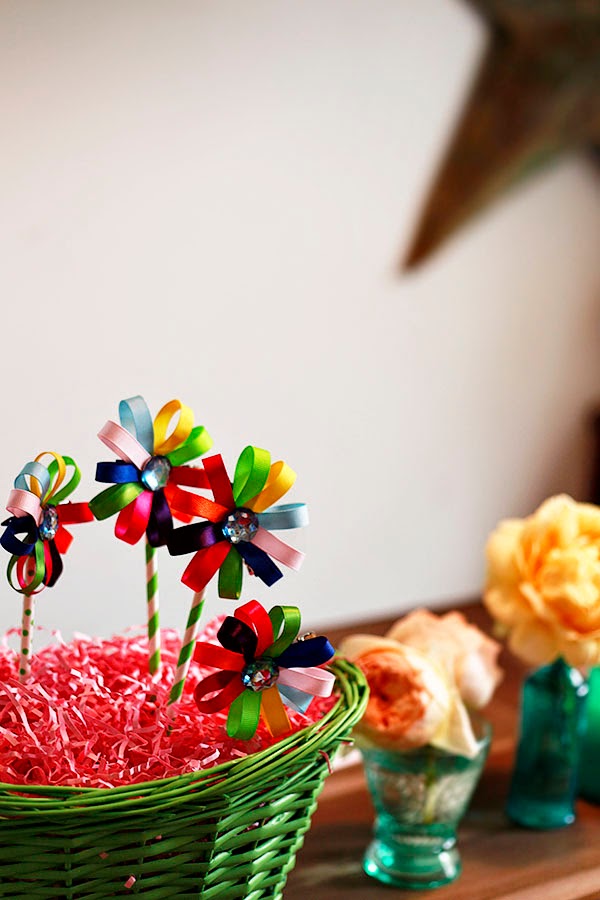
Our crafty scout leader made these Girl Scout daisy hair clips! They look just like the daisy insignia – each petal represents a different value or lesson learned. So far the girls have earned their blue “honest and fair” petal.

Our hostess outdid herself by hanging balloon daisies and garlands throughout the trees. So magical! I am definitely doing this for a future birthday party.
How to Make Daisy Cupcakes
Ingredients & Supplies
- 1 batch cupcakes (I used a gluten free mix)
- 1 batch frosting
- 1 bag white chocolate chips or white candy melts (I prefer white chocolate because it is more natural, but the melts are easier to work with if you’re not comfortable melting chocolate)
- Yellow food coloring
- 2 pastry bags
- small round pastry bag tip (I used Wilton #5)
- 2 couplers (optional)
- waxed paper
- clear sanding sugar (optional)
- fresh mint leaves (optional)
Instructions
1. Prepare and frost cupcakes.
2. Line a cookie sheet with waxed paper.
3. Melt white chocolate chips in a glass bowl in the microwave, stirring every 30 seconds, or in a double boiler. Transfer about 1/3 cup of the white chocolate to a small bowl and tint yellow with the food coloring. Let cool slightly.
4. Make the white petals. Snip off the end of a pastry bag and place a coupler inside, then the tip on the outside, and screw on the coupler ring. If you don’t have a coupler, just place the tip inside the pastry bag so it fits snugly – I often don’t use the coupler at all. Fill the pastry bag with the white chocolate and pipe petal shapes to form flowers about 2-inches wide on the waxed paper. Don’t worry about making them perfect – I almost tossed mine out at this point they looked so bad. They will look great with the center. If you’re not comfortable doing this freehand, print daisy clip art or draw one first on a piece of paper and place it under the waxed paper to trace with the chocolate.
5. Make the yellow flower centers. Fill the other pastry bag with the with the yellow white chocolate and snip off a small piece of the tip to make a round hole about the same size as the tip you were using (or use the same pastry tip). Pipe yellow white chocolate circles over the center of the petals. Sprinkle sanding sugar over the flowers if using. Place entire sheet into the freezer or refrigerator for a few minutes to harden. I left mine in the freezer overnight as I made them early.
6. Place the hardened flowers on top of cupcakes and garnish with a mint leaf.